COOKING FAULTS
Chicken Burnt on the Outside, Raw in the Middle
THE SHORT ANSWER
This is almost always a single-zone fire doing a job that needs two. Anything thicker than about an inch and a half — bone-in chicken, thick chops, whole birds — has to finish over indirect heat while the lid stays closed, or the outside carbonizes long before the center reaches a safe temperature. Build a hot zone and an empty zone, sear first, then move the food to the empty side and cook to an instant-read temperature rather than to a clock.
pitandsear participates in the Amazon Services LLC Associates Program. If you buy through a link on this page we may earn a commission at no extra cost to you. Full disclosure.
Check these first (they cost nothing)
- Look at your fire. If every burner is lit or the coals cover the whole floor, you have one zone, and one zone cannot cook a thick cut through without burning it.
- Check whether the lid was down. Anything thicker than about an inch and a half needs the lid closed so the chamber cooks it like an oven, not just the side facing the flame.
- Measure the thickest part, not the middle of the piece. On a bone-in thigh or a whole bird, that is next to the bone, and it is always the last part to come up.
- Take the meat out of the refrigerator 20–30 minutes before it goes on. A fridge-cold center has further to travel while the outside is already burning.
What's actually causing it
These are ordered deliberately. Number one is the cause that turns out to be the answer most often, so work down the list rather than jumping to the one that sounds most dramatic.
A single-zone fire doing a two-zone job
Most commonHow to confirm it
Everything on the grate is directly over lit fuel and there is nowhere to move food to. If your only options are "on the fire" and "off the grill", this is the cause.
How to fix it
- On gas, light only half the burners. On charcoal, bank all the fuel to one side and leave the other side completely empty.
- Sear the food over the lit side for 2–4 minutes per side to build color.
- Move it to the empty side, close the lid, and let the chamber finish it by convection.
- Cook to an instant-read temperature rather than to a clock — 165°F in the thickest part for any poultry.
- Rest for 5–10 minutes before cutting.
Repair or replace — Fix it yourself. This is a setup change, not a repair, and it is the single most useful technique in grilling.
Heat far too high for the thickness of the cut
CommonHow to confirm it
The outside is black within a few minutes. If a bone-in thigh has visible char before eight minutes have passed, the surface is being cooked at a rate the interior cannot possibly keep up with.
How to fix it
- Drop the direct heat to medium for anything thicker than an inch and a half.
- Reverse the order: cook it gently over indirect heat first, then finish with a short, hard sear once the interior is a few degrees below target.
- Give the chamber time — a bone-in chicken piece typically needs 30–40 minutes total, most of it indirect.
- Resist adding fuel or opening vents to "speed it up"; the interior temperature is limited by conduction, not by how big the fire is.
Repair or replace — Fix it yourself. Reverse-searing costs nothing and produces a more even interior than searing first.
Sugary marinade or sauce applied too early
CommonHow to confirm it
The blackening is glossy and localized to where the sauce is, and it tastes burnt-sweet rather than charred. Sugar carbonizes well below the temperature meat needs.
How to fix it
- Cook the food naked, or with a dry rub containing little sugar, for the bulk of the time.
- Brush on any sugary glaze only in the last 10–15 minutes of the cook.
- Apply it over the cooler zone rather than directly over flame.
- If a marinade contains honey, fruit juice or a lot of ketchup, wipe the surface before the food goes on and save the marinade for a finishing glaze.
Repair or replace — Fix it yourself by changing the timing. Nothing wrong with the sauce, only with when it went on.
The thermometer is lying to you
CommonHow to confirm it
The exterior looks right, the timing looks right, and the reading says done — but the meat is raw at the bone. Test the probe in a proper ice slurry; it should read 32°F.
How to fix it
- Fill a glass with packed crushed ice, add cold water to the top of the ice, stir and wait two minutes.
- Insert the probe into the center of the slurry without touching the sides, and read it once it settles.
- If it is more than 2°F out, use the calibration offset if the model has one, or note the error and apply it every time.
- Check probe placement as well — a tip touching bone reads high, and a tip in a fat pocket reads low.
Repair or replace — Calibrate first. Replace only if the probe fails the ice-and-boiling two-point test or gives different readings on repeat dips.
What you'll need
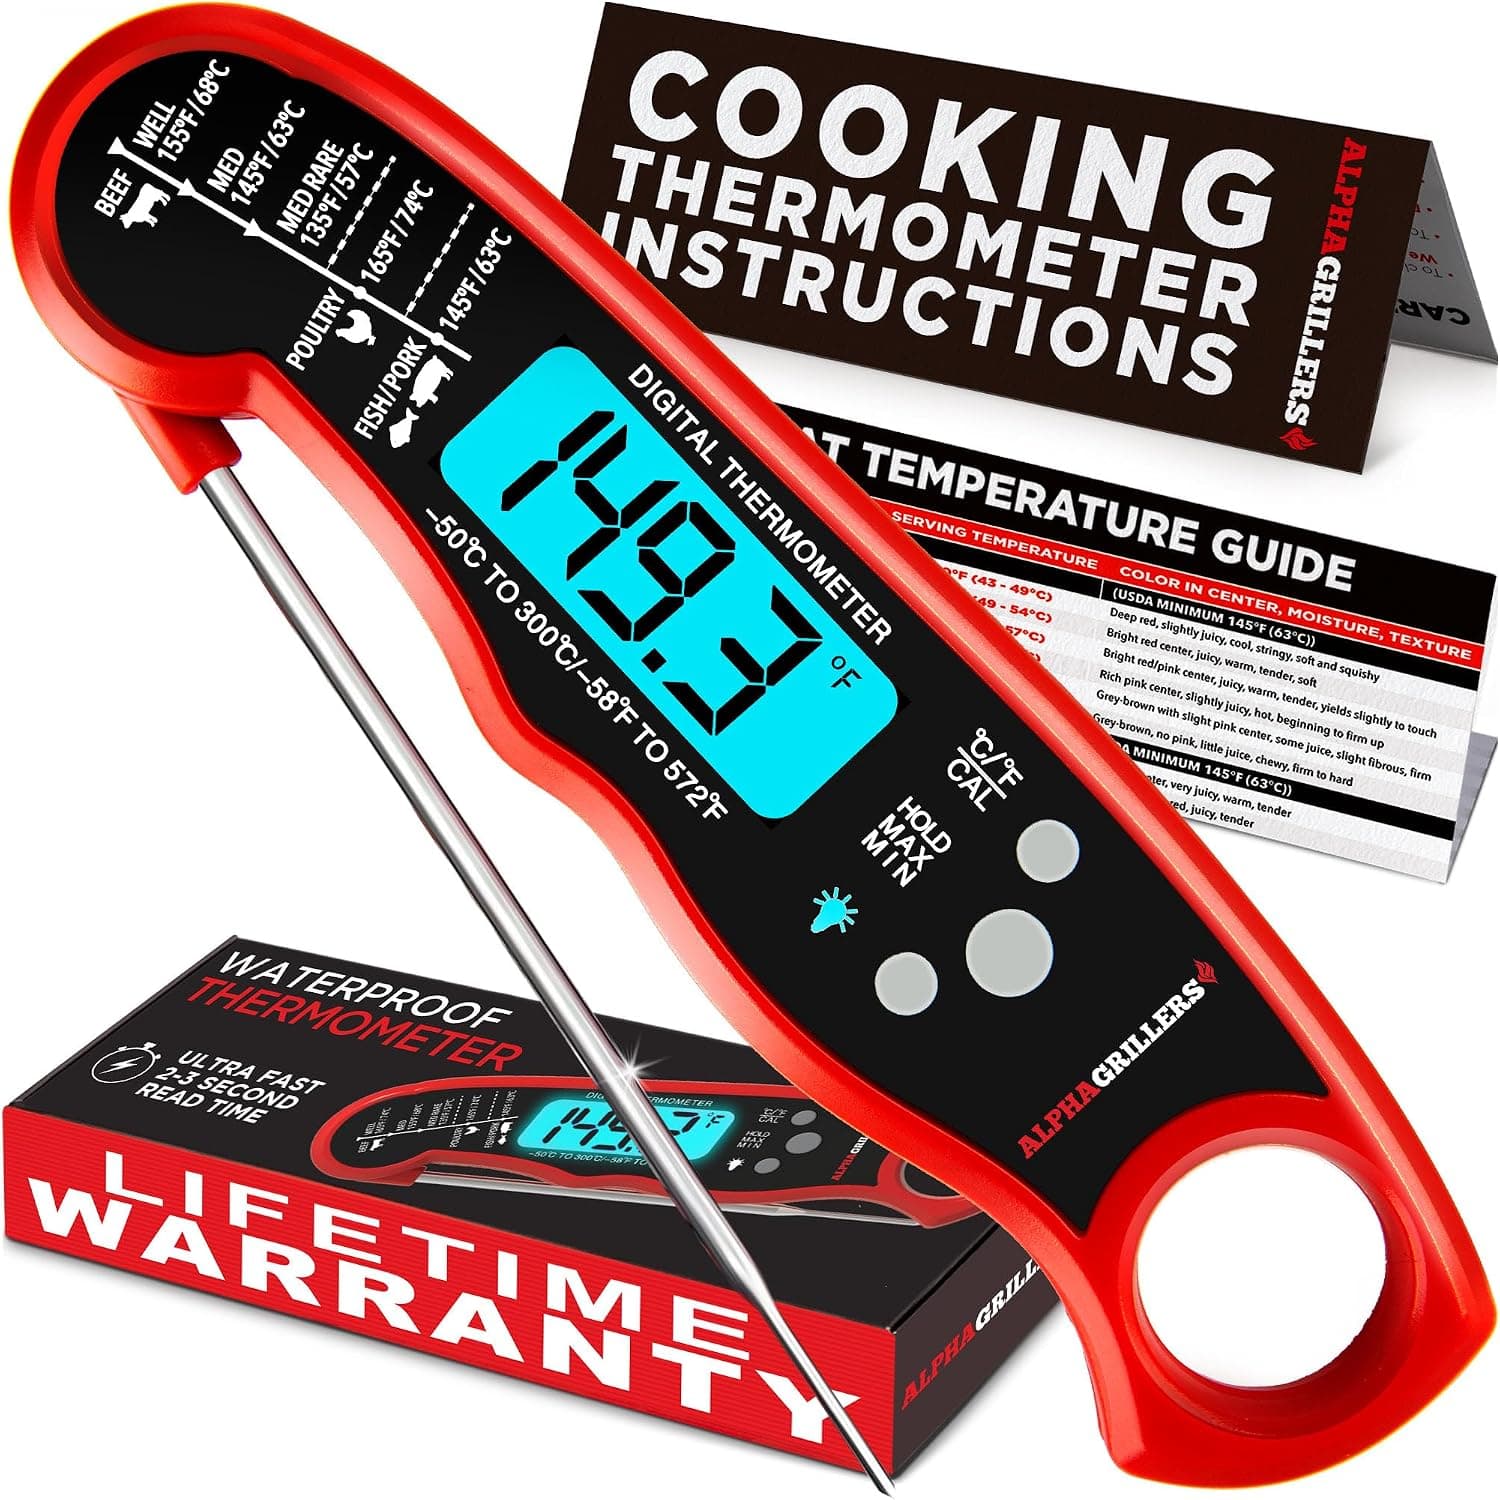 Best Overall
Alpha Grillers
Alpha Grillers Instant Read Meat Thermometer
Best for everyday spot checks at the grate
A straightforward instant-read that covers the job most people actually need: open the lid, get a number in a second or two, close the lid again. The IP67 rating means it survives being rinsed under a tap rather than only wiped, which is usually what decides how long a grill thermometer lasts. It ships pre-calibrated, so the ice-bath check becomes a verification rather than a setup step.
1–2 sec read, IP67, backlit
Uneven pieces cooked as if they were the same
Less commonHow to confirm it
The thin end of the breast or the small thighs are done and dry while the large pieces are still raw inside. One grate, five different thicknesses.
How to fix it
- Sort pieces by size and put the largest on first, adding smaller ones as you go.
- Butterfly or pound thick breast meat to an even thickness before it goes near the grill.
- Spatchcock a whole bird — removing the backbone and flattening it takes 40 minutes off the cook and evens out the whole thing.
- Pull each piece individually as it hits temperature rather than taking the tray off together.
Repair or replace — Fix it yourself with a knife and some sorting. No parts, and it also improves how evenly everything browns.
All the causes side by side
| Cause | How to confirm | Fix time | Part needed | Difficulty |
|---|---|---|---|---|
| A single-zone fire doing a two-zone job | Everything on the grate is directly over lit fuel and there is nowhere to move food to. If your only options are "on the fire" and "off the grill", this is the cause. | 10 minutes | None | Easy |
| Heat far too high for the thickness of the cut | The outside is black within a few minutes. If a bone-in thigh has visible char before eight minutes have passed, the surface is being cooked at a rate the interior cannot possibly keep up with. | 5 minutes | None | Easy |
| Sugary marinade or sauce applied too early | The blackening is glossy and localized to where the sauce is, and it tastes burnt-sweet rather than charred. Sugar carbonizes well below the temperature meat needs. | 2 minutes | None | Easy |
| The thermometer is lying to you | The exterior looks right, the timing looks right, and the reading says done — but the meat is raw at the bone. Test the probe in a proper ice slurry; it should read 32°F. | 10 minutes | Meat Thermometers & Timers | Easy |
| Uneven pieces cooked as if they were the same | The thin end of the breast or the small thighs are done and dry while the large pieces are still raw inside. One grate, five different thicknesses. | 15 minutes | None | Moderate |
Stop it from coming back
This one never comes back once you build the fire differently. A grill set up with a hot zone and an empty zone gives you somewhere to sear and somewhere to finish, and thick cuts stop being a gamble. It also gives you an escape route when fat catches, which means the same setup that prevents raw centers also prevents charred outsides.
The second half is measuring rather than guessing. Chicken is safe at 165°F in the thickest part and nothing about color, clear juices or elapsed time tells you when it got there. Verify the thermometer against an ice bath at the start of the season, learn where the thickest part of each cut actually is, and the problem stops being a problem.
Related problems
Questions people actually ask
USDA guidance is 165°F measured in the thickest part of the meat, away from bone, for all poultry including ground poultry and any stuffing cooked inside a bird. Dark meat is safe at 165°F but has noticeably better texture around 175–180°F, and thighs stay moist well past the minimum.
No. Meat next to the bone in young birds often stays pink even after reaching a safe temperature, because of pigment leaching out of the bone marrow. Equally, chicken can turn white before it is safe. Color is not a reliable indicator in either direction — temperature is.
For anything thicker than about an inch and a half, sear last. Cooking gently over indirect heat first and then finishing with a short, hard sear gives a more even interior, because most of the cooking happened at a shallow temperature gradient. Sear-first works fine for thin cuts.
Yes, and there is nothing wrong with doing so. Sear on the grill for color and flavor, then move it to a 350°F oven to finish. It is exactly the same principle as the indirect zone, just with a more stable chamber.
Bone changes how heat moves through the piece and the meat immediately around it is the last to come up to temperature. It is also the spot most people fail to probe. Aim the probe into the thickest meat beside the bone, not through it — bone conducts heat and reads high.
Sources
pitandsear participates in the Amazon Services LLC Associates Program. If you buy through a link on this page we may earn a commission at no extra cost to you. Full disclosure.